Navigation in Next 14

SDE-1 @HashedIn by Deloitte | Passionate about Web and Mobile Development | 🌐 Turning ideas into digital solutions | #JavaScript #React #NodeJS #WebDev #Typescript #MobileDev 🚀
Introduction
One awesome thing about Next.js routing is, it uses something called as file-based routing. Unlike in React.js, where we have to configure page routes using a library such as React-router-dom, it comes in-built in Next.js. What Do I mean by file-based routing? the top-level app/ folder acts as the root route(/), and a special page.tsx file under it acts as the page for that route segment. So now, if I want to create a profile page for instance. I can come to app/ folder, create a /profile folder under it and a page.tsx file under it. Now, my profile page is ready. Coming back to the topic at hand, Navigation in Next.js.
Next.js provides us with two ways to navigate:
Using the
<Link>componentUsing the
useRouterhook
Both these approaches have their purpose. Let's learn them.
Using the <Link> component
The <Link> is a built-in Next.js component that helps in client-side navigation between routes. First, Let's prepare a Navbar which will have a set of items which when clicked will take us to respective pages.
To use the Link component, you need to first import it from the next/link. The href prop of the Link component takes the target route as a value.
Navbar.tsx
import Link from "next/link";
import React from "react";

const Navbar = () => {
  return (
    <nav
      style={{
        backgroundColor: "rebeccapurple",
        padding: "10px",
        margin: "-10px",
      }}
    >
      <ul
        style={{
          display: "flex",
          flexDirection: "row",
          color: "white",
          listStyle: "none",
          paddingRight: "10px",
        }}
      >
        <li>
          <Link
            style={{
              color: "white",
              textDecoration: "none",
              paddingRight: "20px",
            }}
            href={"/"}
          >
            Home
          </Link>
        </li>
        <li>
          <Link
            style={{
              color: "white",
              textDecoration: "none",
              paddingRight: "20px",
            }}
            href={"/About"}
          >
            About
          </Link>
        </li>
        <li>
          <Link
            style={{ color: "white", textDecoration: "none" }}
            href={"/Profile"}
          >
            Profile
          </Link>
        </li>
      </ul>
    </nav>
  );
};

export default Navbar;
Import this component in the layout file, so that this Navbar will accessible in all the subsequent pages.
Layout.tsx
import type { Metadata } from "next";
import { Inter } from "next/font/google";
import Navbar from "./components/Navbar";

const inter = Inter({ subsets: ["latin"] });

export const metadata: Metadata = {
  title: "Create Next App",
  description: "Generated by create next app",
};

export default function RootLayout({
  children,
}: Readonly<{
  children: React.ReactNode;
}>) {
  return (
    <html lang="en">
      <body className={inter.className}>
        <Navbar />
        {children}
      </body>
    </html>
  );
}
After completing all these steps, the output on the screen will look something like this:
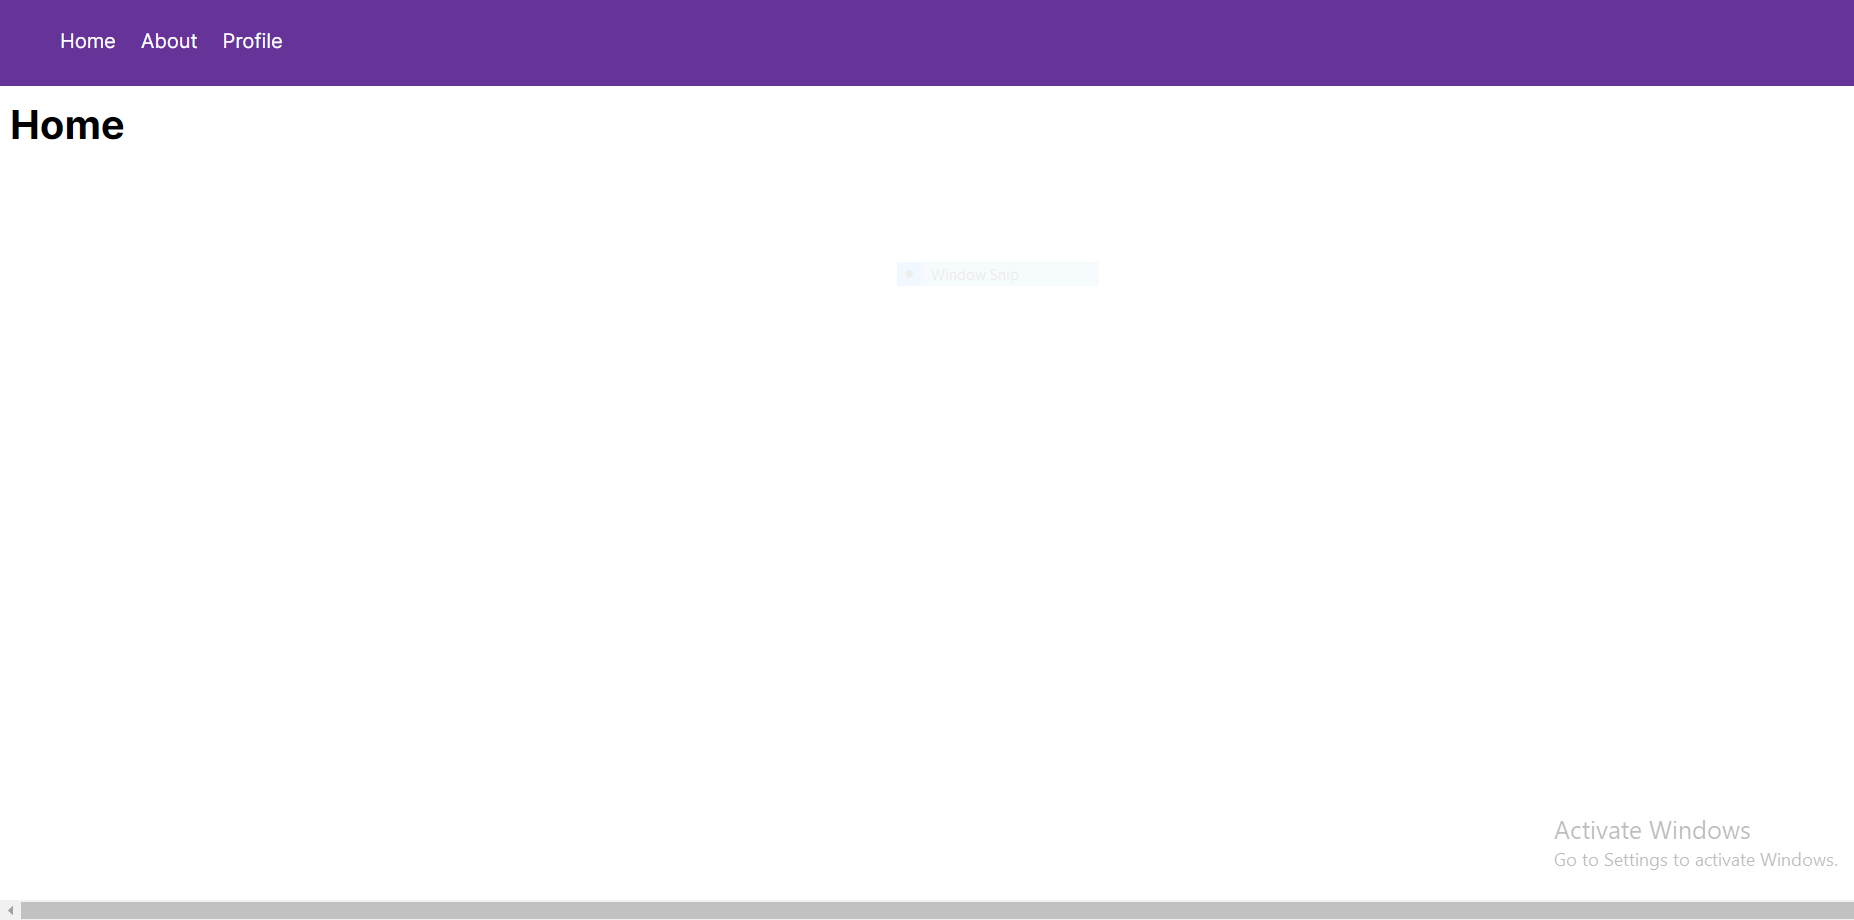
So when you click on the About link, it navigates to the /About route. For the Profile link, navigates to the /Profile route, and so on.
Using the useRouter hook
What if you want to navigate between pages programmatically, that is by click of a button or a particular form submission. We can achieve that using useRouter Hook
Since, useRouter is a hook when you use it, make sure that the component is client component. You can make an component as a client-side component simply by giving 'use client' annotation at the top of the page.
In our example, I making changes in Profile page
Profile/page.tsx
"use client";
import { useRouter } from "next/navigation";
import React from "react";

const page = () => {
  const router = useRouter();
  return (
    <>
      <h1>Profile</h1>
      <button onClick={() => router.push("/")}>Go to Home</button>
    </>
  );
};

export default page;
So, as you can see:
Made the page as client component by using
"use client"Import the
useRouterhook from thenext/navigation.We get a
routerinstance from the hook.We invoke the
pushmethod passing the new route when clicking the "Salary" button.
When in Home page, you try to do router.back(), it will take you back to Profile page. Which mean internally the router uses stack routing.
One last thing, before ending this blog is try to use the <Link> component as much as possible to navigate between the routes because it prerenders route fetching which will internally increase the performance of the application, except in a few cases as we demonstrated with the useRouter hook.
Conclusion
This blog is the fourth blog in the Next 14 learning path series, if you have not read the previous three blogs, please go ahead and read it. I aim to cover as many topics in Next.js as possible through this series. The link to the series can be accessed by clicking here
To get access to the code that I have used above, click here. For any query, you can get in touch with me via LinkedIn and twitter.Leave all your comments and suggestions in the comment section. Let's connect and share more ideas.
Happy coding!


